by Penelope Feb 20,2025
Ready or Not's modding community offers enhanced gameplay, but mods can also introduce instability and prevent multiplayer with unmodded players. This guide details how to completely remove all mods from your game.
Step-by-Step Mod Removal:
Unsubscribe In-Game: Launch Ready or Not. In the in-game mod menu, unsubscribe from all active mods. This prevents re-downloads after deletion. Close the game.
Delete Game Files: Open Steam, right-click Ready or Not in your library, select "Properties," then "Local Files," and finally "Browse." Navigate to the following directory: Ready Or Not\Content\Paks. Delete all files and folders within the "Paks" folder. Then, delete the "Paks" folder itself.
Delete Local AppData Files: Press Windows+R, type %localappdata%, and press Enter. Locate the Ready or Not folder, navigate to Ready Or Not\Saved\Paks, and delete the "Paks" folder within.
Verify Game Files: In Steam, right-click Ready or Not, go to "Properties," "Local Files," and select "Verify integrity of game files." This ensures a clean installation.
Optional Reinstall (Recommended): For a completely fresh start, consider reinstalling Ready or Not. While not strictly necessary, it's recommended if you're not planning to use mods again.

Why Delete Mods?
Mods significantly enhance Ready or Not, but excessive mods can lead to errors, bugs, and glitches. A clean mod slate often resolves these issues. Furthermore, using mods prevents playing with friends who haven't installed the same modifications.
Ready or Not is available now on PC.
"Clair Obscur: Expedition 33 Hits 1 Million Sales in 3 Days"
Top 10 Liam Neeson Films Ranked
Roblox Deep Descent: January 2025 Codes Revealed
Ragnarok V: Returns Beginner's Guide - Classes, Controls, Quests, Gameplay Explained
How to Feed Villagers in Necesse
Bitlife: How to Complete the Renaissance Challenge
Bahiti Hero Guide: Mastering the Epic Marksman in Whiteout Survival
Expedition 33 Patch Fixes Soft-Lock Bug

PSN Link Rewards Players with Ellie Skin in The Last of Us 2
May 08,2026
S.T.A.L.K.E.R. 2 Mods May Need 700GB Space
May 08,2026
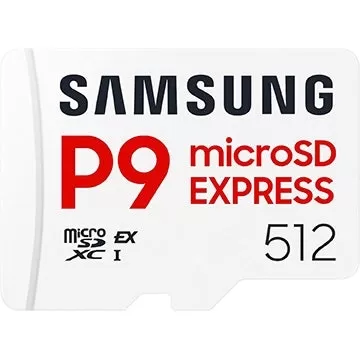
Samsung Launches Cheaper MicroSD Express Cards
May 04,2026

New roguelike game Trimo Heroes merges to save galaxy
May 04,2026
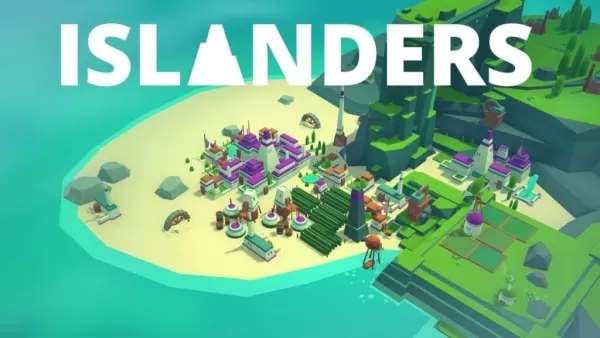
City-Building Game Islanders: New Shores Is Coming to Mobile This Month!
May 03,2026
 Category